Perfect binding….almost

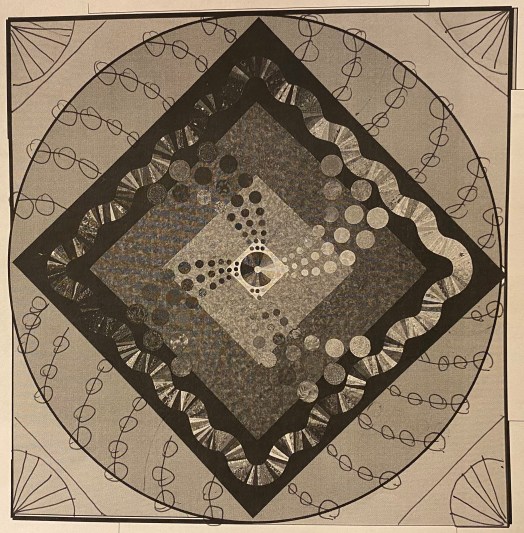
When I was finishing “Mahek the Market Girl”, I wanted to try my best to make the binding PERFECT.

I made and attached the binding in the manner that I have always used, making sure that the corner stitching met in JUST the right spot and trimming that little piece out of the corner to reduce the amount of bulk.

But, as folded the binding over, getting it ready to hand stitch, I kept looking at my corners and knew that they were not going to work well.

Then I remembered an email I had sent to myself back in NOVEMBER that had been languishing in my inbox since. The video was from Susan Cleveland and was called “Two Ways to Reduce Bulk in the corners of binding”. Click the link below to view it.

I finally sat down and watched all 20 minutes of it and found several things that were SO helpful……

  • Making the binding so that it is a bit wider on the back of the quilt.
  • Being sure that the fold of the flipped over binding is opposite to the fold of the sewn-on binding (watch the video….she does a much better job of explaining)
  • Taking a few stitches in the corner on the top side of the binding
  • Anchoring the hand-stitching thread inside the seam before heading to the binding.
  • DON’T clip those corners!!!

So, I did the only thing left……CUT that binding off and started over again…..

This time I carefully marked my corners so that I could stop at exactly the right spot…..

Once sewn on, I do a few other things that I think help with the binding. Firstly, I press the binding out from the front……

Then I turn it to the back and start folding it over and pressing it as I go. When I get to the corner, I use the tip of the iron to press it out as best I can…..

As I fold each corner, I press it well and put clips on each side……

I am very happy with it and think that it makes a great finish to a fun piece.

The Palin source…..

Michael and I LOVE Michael Palin. We have spent many hours watching all of his travel shows, often dreaming about visiting some of the places that he has been. As a matter of fact, he is the reason that we trekked in the Himalayas back in 2015.

Many years ago, I stopped his show about the Sahara Desert to take a picture of a camel that appeared on the screen…..

At the time, I was playing with thread painting and used this photo to make a quilt…..

Note that it is the same “wide screen” display as the TV.

This past week, we decided to re-watch the Himalaya DVD and I was drawn to this gentleman in Tibet……

Doesn’t he have a wonderfully expressive face??

I am thinking that this might be a fun portrait to tackle next…..what do you think???

Having a ripping good time…..

At the end of this past week, the builders were working on the drywall in the room and doing lots of sanding, etc so I didn’t really think that I should try to sew in the dust. I wanted to move my machine downstairs but couldn’t figure out where to sit so that my rolling chair wouldn’t ruin the wood floors.

Then…..I thought about setting it up in my office and just move my office chair over a bit and use the same chair mat. It was a bit cramped, but it worked…..

….and the biggest plus…..it is right there and ready whenever I have a few minutes to sew.

The first sewing that I did was on her arms, finally just deciding to do 1/4 inch echo quilting…..

Then I decided to tackle her face….the part that I have been dreading since the start of this project!! While I may be able to draw with fabric, I am NOT an artist where facial contours are concerned!! I spent one evening drawing on 20+ photos of her face, trying to get an idea of what quilting needed to happen…..

And then I quilted…..

…and it was YUCKY!!!

So I spent that evening carefully taking out every single stitch in her face!!! Fortunately, I was having a good day with my machine quilting so the stitches were pretty even.

Now I am stuck with what to do!! I cant decide if the problem is my line placement or the fact that the thread is too dark!!

I KNOW that her nose isn’t good, but I feel like the other lines are okay.

I may try printing her face onto fabric and do several tries before I work on the actual piece again.

And, if any of you have the artistic bent to tell me what I am doing wrong on her nose, PLEASE speak up!!!

Finally….my friend from India, talked to the girl’s grandmother and found out that her name is Mahek. It is an Urdu name and means perfume! How perfect is that!!!

Designing Fun

As I said in the last post, it was time to get serious about the corners of the Color Wheel quilt and there was no better time than a Sunday night, sitting with my Sweetie and watching “Lord of the Rings”…..

I started playing with lots of different design ideas…..

….and then came upon the idea of turning the 1st grey “border” into a big circle…..

Then it was back to the design sheets to figure out what to put into the circle. This is my final idea…..

….make the big circle in the medium grey, the next layer in the lighter grey and the final triangle in the light grey (as in the very middle). I am thinking to make the “spoke” circles in colors that match the squiggle.

My last thought is to put 1/4 of the color wheel in each of the corners to finish it off as it began.

I played with it in Powerpoint and got a reasonable picture of what I am thinking…..

The next step will be to draft it out full size and see if I can make all of the details work, but that probably can’t happen until after my studio is back to a semi-normal state!!!

I know that these plans may change MANY times before the actual quilt is finished but it sure was fun to start out with a few ideas and see those morph into something that I really like!!

Maybe she is a flower girl??

I have continued to think about the background for my “Henna Girl” and just haven’t been happy with any of my ideas. Here, once again, is the photo that I have been working from……

My original plan was to add the lemons in the background, but I just couldn’t wrap my head around it. I was concerned that having something so intricate and detailed might take the emphasis off of the girl.

I was talking to Michael about it the other day and he suggested adding something that was a little more abstract rather than a realistic background. I originally thought about adding a linear design….maybe strips in the background, but then……

…..Facebook to the rescue!!! A photo ( from Jan Ali of Chalo Heritage & Nature Walks) was posted that had large baskets of flowers….

They looked as if the perspective might be right so now I am playing with baskets of flowers rather than lemons. I think that I can do the wicker in detail but have the flowers more abstract.

I have done a bit of playing with paper…..

…..and think that it MIGHT work.

The real question will be whether to add more than the one basket in the background and the partial basket in the foreground, but I guess that I don’t really have to decide that yet!!!

So I am off to start weaving baskets!!!!