Quilter’s Toolbox….Cardstock

Yes, you read that right…..today’s quilter’s toolbox is a simple piece of card stock!!!

It started with the making of the “Thank You” quilt that I talked about in this blog post.

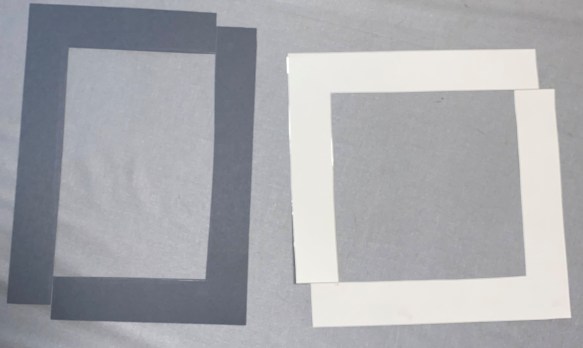
I knew what the flower would look like but wasn’t sure exactly how I wanted it to fall within the quilt. My solution was to cut a piece of card stock into three pieces…..

….throwing away the center section, leaving two L-shaped strips to be used to create temporary edges so that I determine the layout of my quilt……

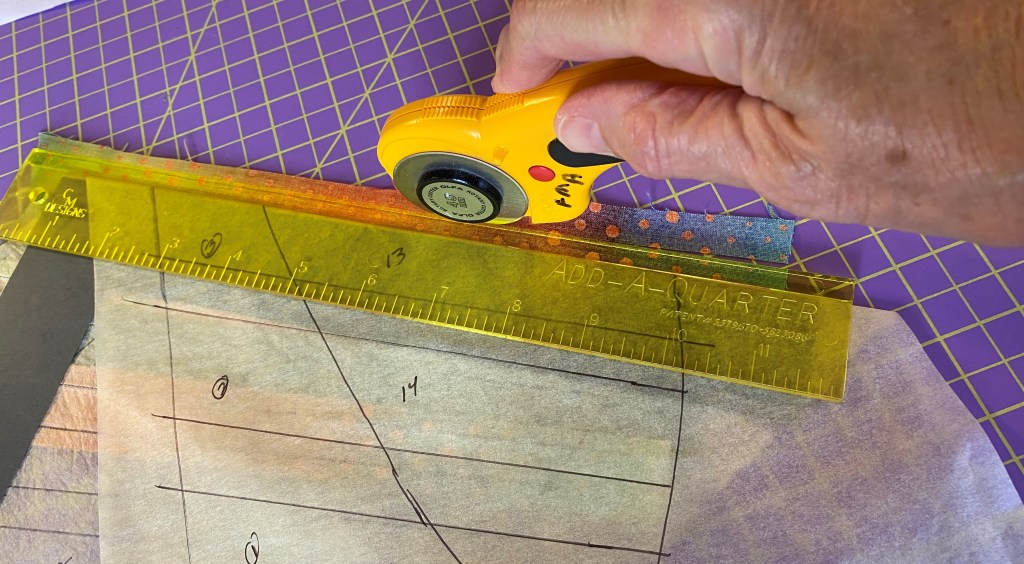
When I decided which format I liked best (the center one above), I placed a ruler over the piece, having 1/4 inch sitting on top of the card…..

I carefully pulled the card strip out…..

And used the rotary cutter to make the first cuts which I then used to square up the second set of cuts…..

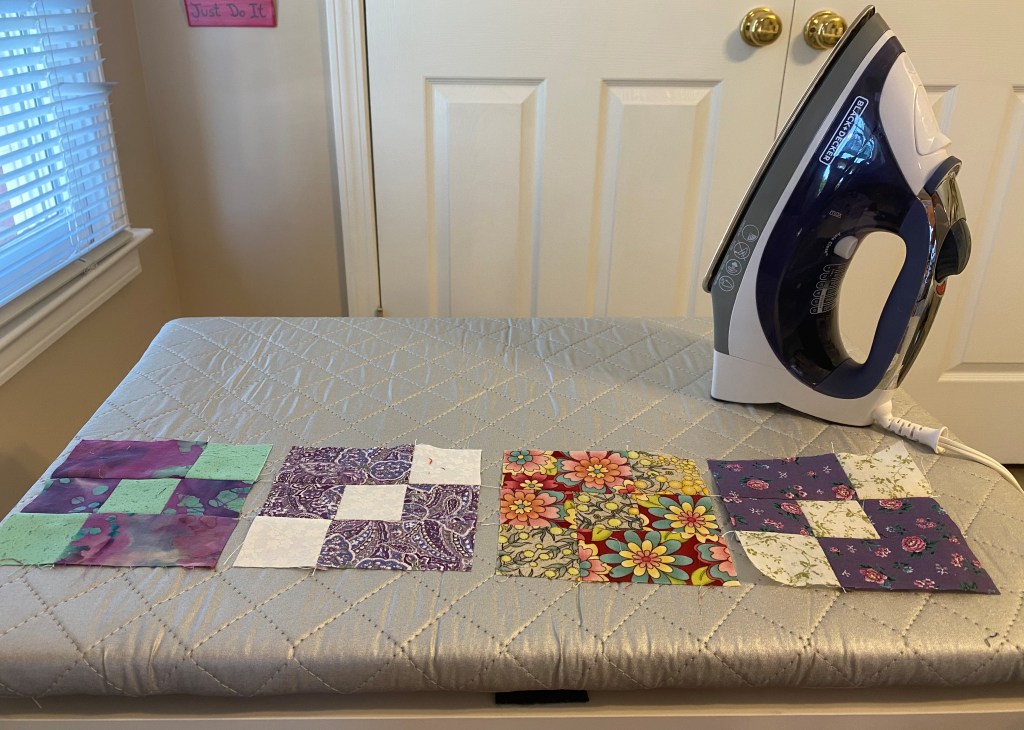
I also used this very special tool to audition borders. With this small quilt top, I could place it on top of any fabric that I wanted to try and then use the tool to contain the border so that I could analyze it…..

…..including whether I wanted the border to be on all sides or just on one.

After I found out how helpful this tool was I added another one in grey. I covered the card stock with a lamination sheet which gave it a bit more structure. I also cut the grey piece in a different format (totally unintentionally) which gives even more flexibility about sizes.

So….there is another of my favorite tools!!! Obviously it will only work on smaller scale items but it sure made the decision process easier on this particular quilt.

Problem and Solution

THE PROBLEM

I keep thinking that I have my new studio fitted out perfectly but then some problem comes along. This time it was associated with the ironing station that I had set up by the sewing machine…..

The first problem that I encountered was that the travel iron was hard to turn on and off. I hated to leave it on all of the time so just didn’t bother with it. The solution was to replace it with a full size iron that I had bought as a backup…..

This solved part of the problem but with the “real” iron, I found that the ironing board wasn’t working well. It simply didn’t have enough padding on it, which caused the metal grating on the back to be prominent, causing friction when trying to iron…..

I also realized that, even though the board was sitting on top of another portable ironing surface, it was still getting really hot (and wet) underneath and would eventually ruin the counter top. This board does have legs but opening them made it way too tall and the legs would easily slide off of the counter.

THE SOLUTION

After a lot of thought, I moved out to the stack of wood scraps in the garage and found a nice piece of 3/4 inch plywood. A neighbor used his table saw to cut it into one piece that was 24×17 and three other smaller strips.

I connected the legs to the board with nails….

….and then covered the board with a layer of aluminum foil…..

Then I took the ironing pad that I had bought and stretched it over the top and onto the backside, stapling it often to hold it in place…..

The final task was to glue a layer of felt to the wood strips so that they wouldn’t scratch the counter top….

It was slightly tippy on one side (probably because I didn’t get the strip nailed on straight enough), and my smart husband, Michael, suggested that I just glue a second layer of felt to that side!!! It was the perfect idea and the new ironing table is steady and secure!!

And best of all, it works perfectly!! There is plenty of room for ironing and the small gap between the board and the countertop means that nothing gets warm or wet.

I am super happy with the result……

I wonder what the next problem will be?????

Kew Quilt — Yowza!!!!

Yesterday I had one of the sides finished and was excited to see how the next side would work. Here is the process that I used to piece each side…..

First, I drew the design using “Golden Threads Quilting Paper”.

It is thin and easy to see thru for tracing a pattern and super easy to tear off after the fact. I also like that it won’t tear if you have to rip out and re-do…..ask me how I know!!!!

Anyway, here is the pattern drawn out…..

When I drew out the first side, I made the decision that, since the lines themselves were so wide, I would use the outside of the line as my design. This meant that the colored sections were a bit wider but I think that it worked well.

Here are the steps to paper piecing….

Line the fabric up with the previous piece that was already sewn in place, matching the marking to the circular line…..

I normally don’t pin but since these seams were long, I opted for a few pins along the way….

Now I turn the piece over and sew on the reverse side, following the drawn line….

Iron the new piece out…..

And then comes the magic….

I used a straight edge to fold the NEXT piecing line over……

Placed the “Add-A-Quarter” ruler over it…..

…..and cut along the added quarter inch…..

The result is that now I have a good line to follow when I place the next piece!!

This ruler makes Paper Piecing SO much easier and I will do a review of it in the next day or two!!

As the night wore on, I made a few mistakes, including piecing from the wrong side of the paper…..

….meaning that everything was reversed!! Fortunately I only did THREE seams this way!!

At one point, I used two grey fabrics together instead of moving to the next in the gradation. I will honestly say that I debated long and hard about whether I wanted to rip out those FOUR seams to fix it, but in the end, I did just that.

Sometime around 11:00pm I put the final stitch in the side and laid it out on the wall to see how it looked…..

Yowza!!!

Needless to say, I went to sleep happily dreaming of firework stripes!!!

The final step will be to join the three pieces. I have always been thinking about applique, but maybe I should try piecing???? I will have to think about that!!!