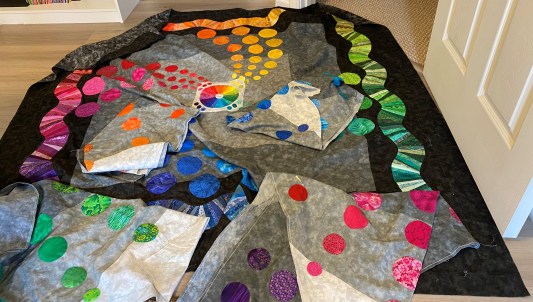
On Thursday, I left you with the quilt at this stage…..

As I looked at it, I felt that it needed some separation between the blocks so decided to add 1-inch sashing.

….and the blue background seemed to be a perfect choice.
Before I started pulling blocks off of the design wall, I added numbered pins to each block which GREATLY helped to keep the blocks in the same place as piecing commenced…..

If you are interested, here is an older video that I made reviewing one of the Numbered Pin brands…..
I quickly had the horizontal sashing added…..

Now came the hard part….. adding the vertical sashing and making sure that the blocks were perfectly lined up!!
I accomplished this by marking registration lines on the sashing piece and pinning every seam so that they matched….

The top was finished, including the 1-inch sashing around the entire top. Now I wanted to add a splash of color to the border. As I searched my stash, my eyes fell on these fabrics…..

After lots of trial and error, I ended up cutting strips from several of these and piecing them together into irregular-sized chunks.
A final blue border and the top was finished…..

And, I LOVE IT!!!
I am not interested in quilting this myself so have sent it off to let Sheila work her magic with thread.
Just because I am not quilting this myself doesn’t mean that I couldn’t quilt it if I had the time…..
Are you in a rut with your machine quilting? Sure, you know HOW to do FMQ and you have 4 or 5 patterns that you do well. BUT, you are bored with those designs and need a push to try some new things. If so, please join “MOVE-IT…. a Free-Motion Quilting Boot Camp”!! I will take you on a FREE 10 week journey to learn new designs and become more comfortable with just MOVING IT!! You can sign up by clicking HERE


