I believe that every quilter has a desire to be more accurate with their piecing and one of the first things we learn is how to “nest” our seams.
If you haven’t heard that term, it refers to when one seam allowance is pressed one direction and the other seam allowance is pressed to the opposite side……
That means that the two seams NEST together, making it easy to be accurate with piecing.
But, what happens when both seams are going the same direction?
When I posted yesterday about making an optical illusion quilt, I started remembering one that I made as part of a guild challenge back in 2000. We picked color swatches out of a hat and my color was RRRREEEEDDDD!!!
I had wanted to try an optical illusion quilt and found a great pattern in this book that just happened to be on my shelf…..
Sadly, this book is now out of press!
This is the quilt that I made…..
It was amazingly easy to make, but I did have to be EXTREMELY precise in my cutting and piecing.
Since most illusions are made with straight lines they do lend themselves to fun quilt designs.
I did a bit of research for books and found these…..
Now what I REALLY want to do is to design one myself so it may be a while before I get one made.
But I can always dream!!
And, truth be known, my TRUE desire is to make something like this…..
.
Have you made an optical illusion quilt?? Did you enjoy it??
One of my favorite things about quilting is motivating others and helping them in their quilting journey. As part of this endeavor, I LOVE to present programs and workshops to groups and guilds around the world. All of my programs work well with Zoom meetings, and I would love to speak to your group.
This post contains affiliate links. I am a participant in the Amazon Services LLC Associates Program. I may earn a small commission if you purchase thru the links provided here. It does NOT change the price that you pay for any items you buy.
And while I enjoyed making them, I didn’t want EVERY plate to look exactly the same…..
Since I want these to look like flowers, my first thought was to round out the corners.
I accomplished this by drawing the rounded version onto lightweight interfacing…
I placed each one of these on top of the “ray”…..
……. and sewed around it…..
Then I turned it, leaving this, slightly uneven, Dresden ray…..
No….it’s not perfect….but neither are flowers!!!
This is the final plate…..
I LIKE IT!!
My other thought was to make a set of plates where the background fabric was used in half of the rays so that it basically disappears.
For this one, I chose to NOT make the points of the rays.
My first step was to cut and sew the pairs of fabrics…..
When pieced it looked like this…..
Now I needed to finish the edges, so I placed a piece of interfacing over the circle and sewed around it……
After a quick turn…..
…..and I have a circular plate….
The question will be whether or not I can quilt it so that the background fabrics basically disappear…..
It looks promising……stay tuned!!!
I will get back to this piece on Thursday, showing you some REALLY fun Grid Quilting, but between now and then, I have a great quote, some inspiration and ideas for a great gift for your quilting friends…….
In this blog, I post stories about creativity, techniques, tools of the trade, and lots more about the wonderful art of quilting. If you are enjoying these posts, please subscribe to be notified of each new blog as it becomes available.
I have recently become enamored with the Dresden Plate design and decided that it would be a perfect pattern for my guild challenge (due this Tuesday)!!
I had never made Dresden Plates before so decided to make a video to help myself learn as well as teach those who are interested.
They are amazingly easy to make so please enjoy……
If you are reading this via email, follow this link to see the YouTube Video.... https://youtu.be/E6sif4NZcU
After making a few larger Dresden Plate Designs, I pulled out some rulers that I had purchased when I was in Sweden……
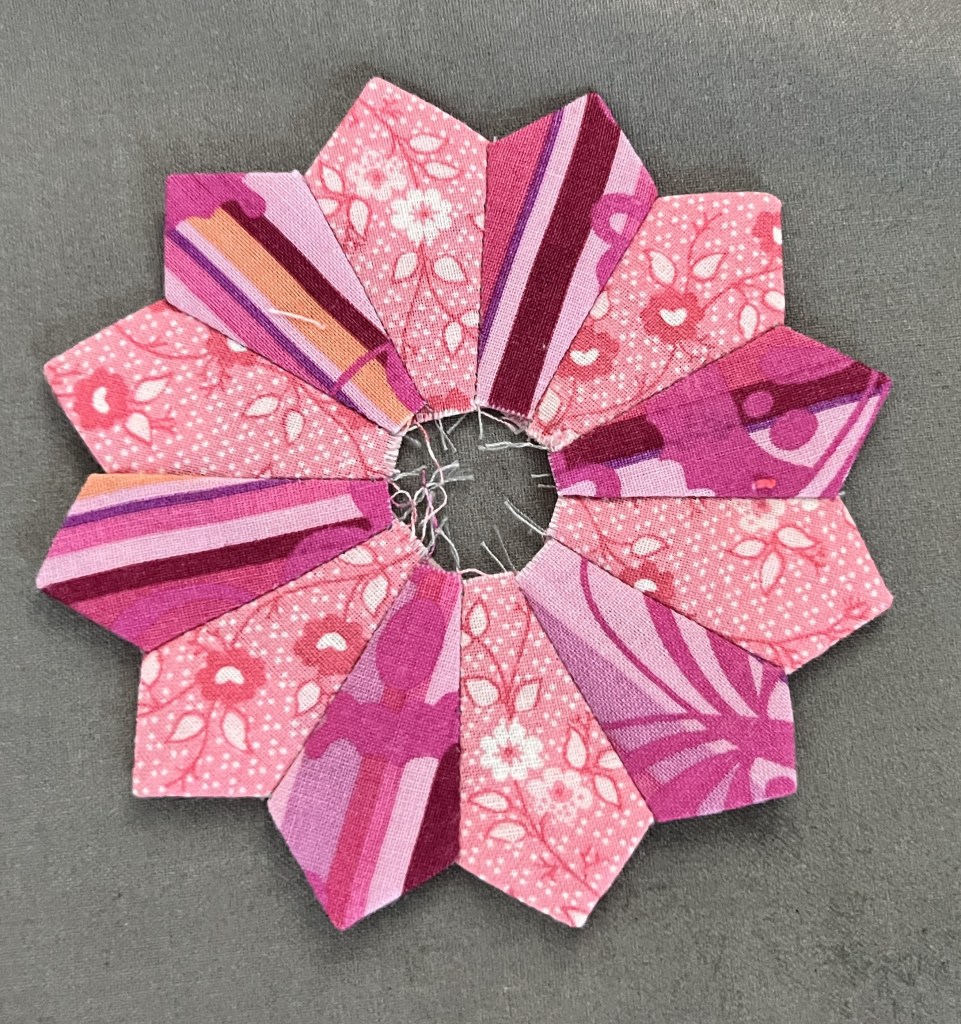
The first was the MINI Dresden Plate from SuzN Quilts…..
In this blog, I post stories about creativity, techniques, tools of the trade, and lots more about the wonderful art of quilting. If you are enjoying these posts, please subscribe to be notified of each new blog as it becomes available.
In this blog, I post stories about creativity, techniques, tools of the trade, and lots more about the wonderful art of quilting. If you are enjoying these posts, please subscribe to be notified of each new blog as it becomes available.