Splitting Rectangles!!

When I was at International Quilt Festival back in November, I purchased a new ruler from Deb Tucker….. SPLIT RECTS….

I had been wanting to play with “Split Rectangles” and NOW was the time!!

As usual, her rulers and instructions have everything that you need, including instructions for how to layer the fabrics when cutting…..
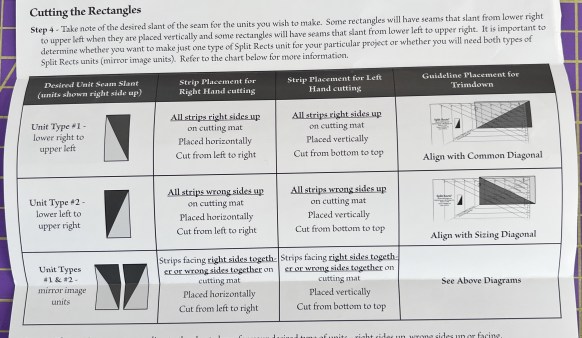
I struggled with this part….even with these great instructions!!

The first step was to decide on a finished rectangle size (2×4 in my case) and look at the ruler to determine the width of the strips needed…..

So…..5 inch strips!!

I layered them together……

First step was to even off one end…..

….and place the ruler even with the cut end…..

Make the cut…..

Flip the ruler around, lining it up with the special marking…..

Make another cut…..

Now to the machine…..

You line the triangles up in this manner…..

….and sew a 1/4-inch seam along the edge…..

AND LOOK…..

Now it is time to trim them to size and, as usual, Deb has provided everything that you need!!

First step is to line the diagonal seam up with the ruler mark…..
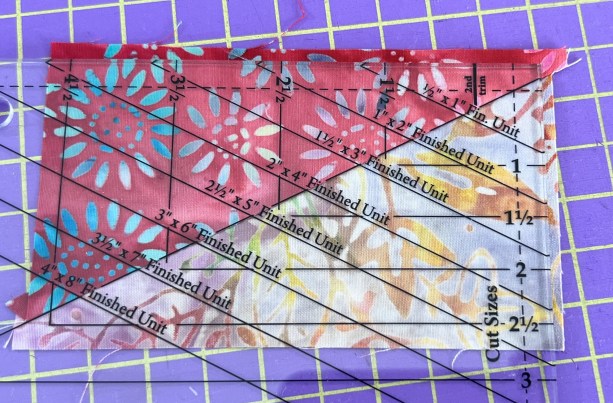
….and trim two sides…..

Then you turn the block and align the outer edges with the finished size….AND trim….

The end result is TWO perfectly shaped Split Rectangle blocks….

And it was SO easy!!

Now that I have learned HOW to make them, I need to figure out HOW to use them in a quilt!!

Come back for more!!


…………………………………………………………………………………………………….

If you have an interest in ruler quilting, check out this online course…..

Click HERE for more information

Pesky Screw Removal….solved

Last Monday was “Sewing Machine Cleaning Day”….both of them!!

I first pulled out the bobbin and discovered that it had JUST run out of thread…..

I call that LUCKY!!!

But as I started to remove the screws it became obvious that I didn’t have the best tool for the job…..

enter the Right Angle screwdriver……

Check out this video to see how easy it is to use…..

I was SO happy to find this tool and it made cleaning both of my machines so much easier.

I hope that it helps you too!!!


Laser Square Up Review

I have often struggled with squaring up my quilted projects. I start in one corner, using a large square ruler, line up my 24″ ruler and work my way around the quilt.

Unfortunately, many times I get back to the final corner and things don’t quite match up. And, when I say don’t “QUITE” match, I really mean that they are nowhere close!!!

Several years ago I was encouraged to try using a Laser Square.

My initial thought was “but I’ve never seen those in a quilting supply store”. I was quickly encouraged to forget the quilt store and instead head to the hardware store!!

There I found this Bosch Laser Square….

….also known as “Red 30-ft Self-Leveling Indoor Line Generator Laser Level with Line Beam”

Since using this tool, I have been able to easily and accurately square up any quilt!!

Let me show you how it works.

I place the tool on top of the quilt, in this case, squaring to a line in the quilt rather than to the edge…..

If you look carefully, you can see the red laser line running down the edge of the quilt….

Now I can place my ruler on the line……

….and carefully cut off the leftovers…..

I repeated this process on each edge and ended up with a perfect square at the end…..

I am fortunate to have a large cutting table so I can lay out much of the quilt at one time.

BUT, what if your quilt is WAY too big for your cutting surface?

You can easily lay the quilt out on another large surface (or even the floor) and use a marker to DRAW in your cutting lines first.

This is also a good way to test the lines BEFORE you cut!!! I used this method a BUNCH of times before I got comfortable using the laser square.

There is something about this line just instills confidence…..

I hope that this tool will instill the same confidence in you!!!

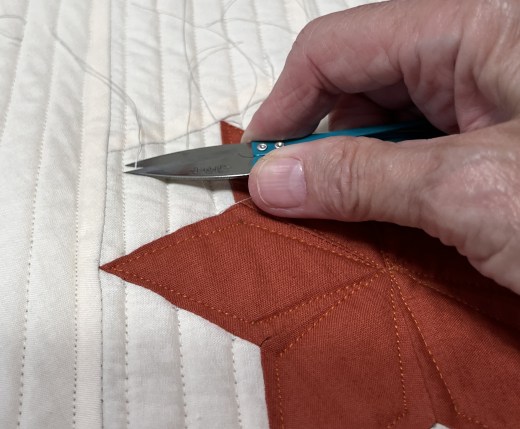
I’m busy burying tails!!!

A few weeks ago I asked a question about how people finish off their free motion quilting. Do they bury the threads, backstitch, etc.

I got some really good comments and lots of suggestions but this one I came upon by accident!!

I was searching for self-threading needles on Amazon and came across a product called “Snag Magic”…..

Now let me say that I wasn’t impressed by how it looked on the screen but decided that I would buy it and see.

It is MUCH nicer in person!!!

I have now spoken to one of the creators of Snag Magic and he said that the Amazon product was probably a knock-off.

SO…….if you are interested, please go directly to the website at https://snagmagic.com/

To use it, you pull the threads thru the loop (after knotting them of course)…..

Insert the needle into the hole that the threads came out of…..

Pull the threads through and give it a tug to pop the knot inside the batting……

Now they are ready to clip…..

But, it is sometimes easier to SEE the tool in action so take a look at this…..

I am loving this tool and can’t wait to get upstairs and start burying MORE threads!!

Have you ever used one??

The Eye of the Needle

Can you thread a needle without assistance???

I most definitely CAN NOT…..and it is getting worse as I get older!!!

I have four different needle threaders that I consistently use…..

…..and I wanted to share the pros and cons of each.

Have a look at the video and see if one of these might just work for you!

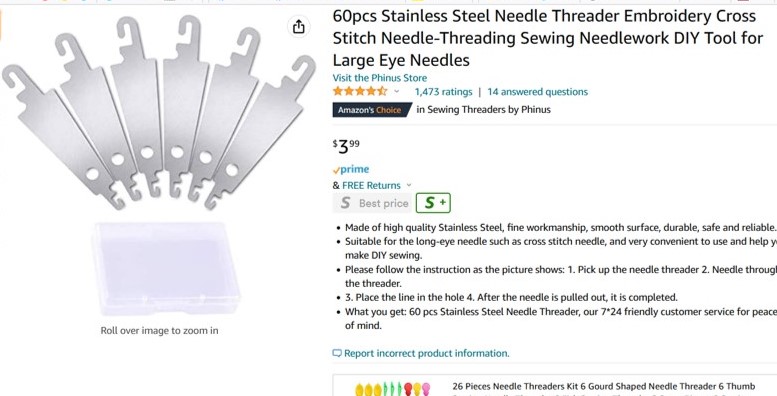
The two threaders from Amazon are pretty generic, but here are the Amazon sales pages……

Do you have other threaders that you like?

If so, please share them with me!!