Baste it fast with fusible

Over the years, I have fallen in love with fusible batting. It is easier than pinning and doesn’t have the fumes and mess associated with a basting spray.

My favorite brand is Hobbes Heirloom fusible…..

There are a few things that you have to do differently than with non-fusible batting.

First of all, it comes in sheets that are slightly stuck together….

You need to be careful as you peel them apart …..

…but you will eventually get to the single layer…..

It is often fairly wrinkled…..

….and I would suggest that you hang it up or lay it out for a while. You can put it into the dryer, but don’t leave it in too long!!

I normally start with the batting on the bottom and iron the backing fabric on first….

If you accidentally iron a wrinkle into the backing, don’t sweat it!!! Instead, you can simply pull the fabric apart from the batting and re-iron it.

Often the batting isn’t completely wrinkle-free and sometimes ends up looking like this…..
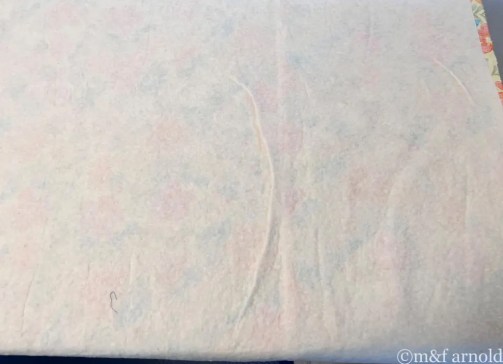
Again, don’t worry about it. Once the quilting is completed, you will never notice the wrinkle!!

After the backing and batting are securely fused, I add the quilt top and iron it as well…….

It is easiest to start ironing in the center of the quilt and slowly work out to the edges.

I normally use a LOT of steam for this process and it seems to work well.

After the top is fused, I like to lay it out flat for 15-20 minutes to let it cool.

The final step is to trim the excess batting and backing fabric off (leaving at least 2 inches on each side). Sometimes I will add a few safety pins along the edge to just hold it in place a bit more.

I can baste a lap size quilt in about 15 minutes, just laying it out on my ironing board. I baste Queen size quilts on my garage floor but use this same 2-part process.

Do you have a favorite batting???

Do you like the quilt that I am using for this demonstration? If you do, you can download a FREE pattern for this quilt HERE

OOPS!!!

The other day I stopped to fill a bobbin and this is what I saw when I started to put it back in…..

Then I took the needle plate off and…..

I am normally SO good about keeping my machine cleaned and oiled and I don’t know what happened here!!!


Do you have a method to remind you to keep everything maintained? If so, PLEASE share it with me!!!

Did you know that many tools from your kitchen can move to your studio, making your quilting even more fun? To receive a free pdf featuring 5 such tools, please subscribe to my newsletter. You can sign-up in the top, right-hand column of this blog, or click HERE

“NO” to the new iron

Last month I put out a plea as I was looking for an iron that would get hotter than the one that I had.

I thought that getting a higher wattage iron would help and, after doing some research, I purchased this 1800 watt iron…..

It is a nice iron and it gets hot fast, but it really isn’t any hotter than my normal iron!!

Then it dawned on me that the wattage won’t make it hotter but the temperature setting WOULD!!

So, I returned to my favorite iron….

….and simply bumped it up one temperature setting!!!

And….voila….I had just what I was looking for!!

So the new iron went back to Amazon and I am enjoying my old iron even more!!

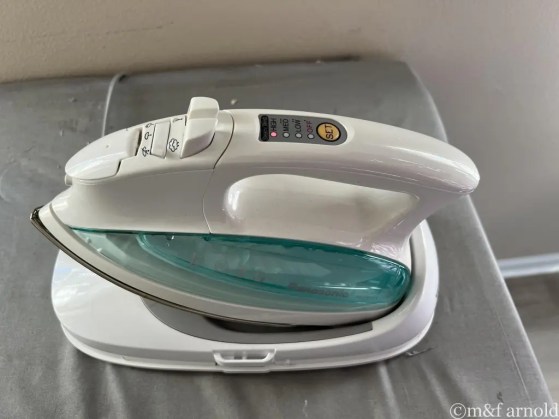
The second iron in my studio is a cordless Panasonic….

It doesn’t get nearly as hot, even on high, and it takes a while to warm up, but when I am ironing larger pieces of fabric, it is sweet to not have to worry about the cord!!!

So now I am happy with the iron situation in my studio, so let’s quit talking and get back to sewing!!

Is Perfect tension possible??

One of the things that I have struggled with on Julio, my Juki sit-down Longarm machine, is TENSION!!!

When I first purchased him, it was perfect but, as I made changes here and there, to both the top and bottom tension, it got worse and worse……

NOT good!!!

I had tried using the method of pulling on the thread until the bobbin stands up in your hand but doesn’t lift off your hand. But, it was imprecise and I was never able to get the tension exactly where I wanted it.

Being an accountant, I believe that NUMBERS are always the way to go and I longed for something that could quantify the bobbin tension…..and I found it!!

Introducing the TOWA Bobbin Case Tension Gauge….

Now it was a bit pricey ($US 55), but it looks like it will definitely be worth the money.

It is designed for bobbins that rest inside a bobbin case (NOT for drop-in bobbins), and this particular version is for the larger “M” style bobbins that are used on a longarm.

This is how it works…..

If the tension needs to be changed, you can easily reach the screw and make the changes….

But you may be asking…… “how do I know what number to aim for?”

Several of the major thread companies, including Signature and Maderia provide information as to where the gauge should fall for each type of thread. Superior Threads provides the best chart that I have found and can be downloaded on their website…..

Since I am loving Bottom-Line thread in the bobbin, this is the perfect chart for me. AND, I am thinking that I can use these numbers as a starting place if I switch to a different thread.

But the real question is whether it helped. You tell me…..

I don’t think that it gets much better than that!!

The gauge is also available for L-style bobbins which are used on many home machines.

I am super excited about this tool and am looking forward to using it for “perfect” tension!!!

Clipping wings the Deb Tucker way…

In one day, I had two readers mention that they used the Deb Tucker “Wing Clipper” tool to perfect their Flying Geese units.

I decided that I had to try it out…..

After making this video, I realized that I could put some non-slip grips on the back of the ruler to help stabilize it. As I searched, I found that there are tons of choices….which ones do you prefer??

I recently purchased 3 more of the Deb Tucker rulers and cant wait to try them and, of course, review them on this site. Be sure to come back for more!!!

PATTERN UPDATE….. have you checked out my pattern for “Crumbs for the Geese” . You can find it on the “Patterns for Sale” at the top of this page.