They were put together in a series of sets of 4 or 5 strips…..
When it was time to fuse these strips together, I knew that it was important to keep the strip sets straight. If they are angled in any way then sewing the straight lines together with cause the piece to be angled.
But how was I going to keep them straight!!!
Happily, I had an idea to use freezer paper on my ironing board to keep them straight…..
I first ironed a piece of freezer paper on the ironing board…..
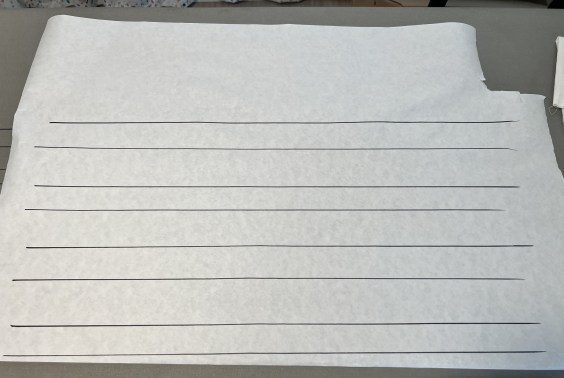
…..and then drew parallel lines on the paper…..
Now I had a guide to use to keep the strips straight!!
I moved each strip set to the ironing board…..
…..and split it up into strips…..
I started with the one un-cut strip and placed it on the line…..
I then kept adding strips……
….making sure that the outside lines stayed straight.
Once I was happy with the lines, I removed the Wonder-Under strips…..
…..and ironed it all in place.
When I was finished, EACH strip set was perfectly straight…..
In this blog, I post stories about creativity, techniques, tools of the trade, and lots more about the wonderful art of quilting. If you are enjoying these posts, please subscribe to be notified of each new blog as it becomes available.
This week will be a different sort of week for Frances Quilts
For the last few months, I have been working sporadically on a quilt that I started two years ago. I wanted to wait until it was finished before I showed you the process
I finished it this weekend so now I can share the whole story.
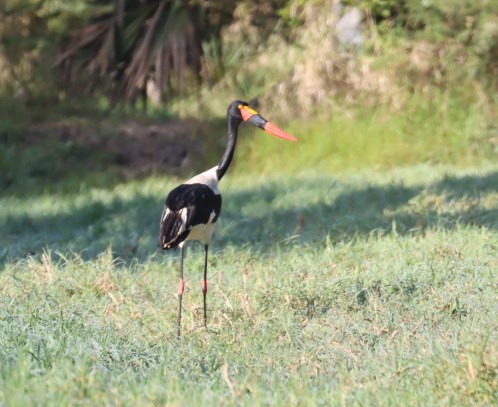
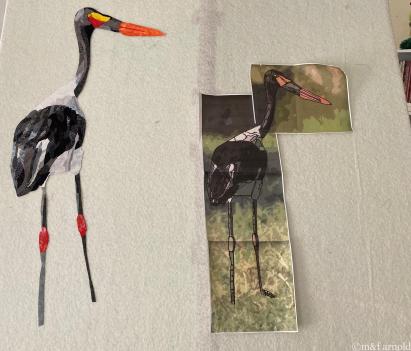
The inspiration started with this picture of a Saddle-Billed Stork I took it when we were in Mozambique in June 2019…..
But she needed a background, and I couldn’t decide what to do. I knew that I wanted to do something pretty fancy but was so confused about what it would be!!
In this blog, I post stories about creativity, techniques, tools of the trade, and lots more about the wonderful art of quilting. If you are enjoying these posts, please subscribe to be notified of each new blog as it becomes available.
I have been wanting to try some hand appliqué for a while. My thought is to have something that I can have in my hands at night while watching TV.
Because you see, if I am using my computer I get too engrossed in what I’m doing and lose track of what’s happening around me…. i.e. I don’t talk to my husband.
But if my hands are empty, I am likely going to fall asleep😴😴
Doing some sort of hand work seems to fix both problems. I can be engaged but still accomplish something!!
To this end, I bought this pattern at the International Quilt Festival several years ago.
….and it has languished on my shelf since then.
Quite simply, I was NOT looking forward to making all of the templates for each of these pieces.
First, let me say that I do NOT do Needle-turn applique!!
So making templates and having the pieces already turned under and ready to sew is essential!!
Over the years, I have tried several methods of preparing the fabrics, each with its good and bad points, but this time I wanted to try something new.
Two years ago, at the International Quilt Festival, I found “Quilters Select Print and Piece Fuse Lite” from Alex Anderson
Each fiber-based sheet has a lightweight fusible on the back side. Using these sheets, you can draw on the backside of the fabric and then cut out those pieces to use as your template.
According to the instructions, this “paper” is water, soluble, and half of the threads will wash out. The other half stays underneath the appliqué, giving it a little more puffiness
Intriguing, right?
I selected one of the 12 designs… (the one with the least number of points), and traced all of the elements onto a sheet of Alex‘s paper
Next, I cut them out carefully on the lines I had drawn….
After picking an appropriate fabric…… (By “appropriate, I mean NOT a BATIK. I don’t like using BATIKS for hand applique because they are woven tighter and sometimes it is hard to get the needle through!!)…… I laid out each of the petals, being sure to leave enough space to cut them out…..
Now it was time to iron them in place…..
I found that I had to hold the iron down for several seconds before the pieces would actually stick to the fabric.
Once the shapes were fused, I cut them out trying to leave a scant quarter of an inch around each one.
The instructions say to use a glue stick to secure the fabric edges to the pattern, but I really don’t like working with glue sticks. I am wondering if I can use magic sizing to crease the edges….more about this in tomorrow’s post.
Unfortunately, as I wetted the edges down with magic sizing, it started breaking down the template fabric so it was impossible to get a crisp edge.
OKAY….let’s try glue!!
I did three petals, using the glue to stick down the edges and this was the result…..
I was not able to get a good crease on the fabric, especially around the clipped curves and there were WAY too many “pointies” sticking out.
Those will NOT work for me!!
Have you used this paper and did I do something wrong??
Come back tomorrow and we will explore my second attempt…..this time using Freezer paper!!
In this blog, I post stories about creativity, techniques, tools of the trade, and lots more about the wonderful art of quilting. If you are enjoying these posts, please subscribe to be notified of each new blog as it becomes available.
Michael and I have a good friend name Seth. He is one of those people who has many, varied interests and he is always on the look for the next cool thing.
Fortunately for me, quilts are one of the things in his search engine so he often sends me photos of his encounters.
This quilt came from the Philbrook Museum in Tulsa, Oklahoma……
It was made in 1991 by Elizabeth Talford Scott. This is the artist’s statement…..
Tie Quilt #2 exemplifies Elizabeth Talford Scott’s innovative approach to quilting, combining objects from many generations of family and friends into a single work. In this piece, more than forty vibrant ties are sewn together and embellished with ornate embroidery, glimmering buttons, and beads in a work suggestive of a family crest or landscape. Well versed in traditional quilting-making techniques, Scott became know for working intuitively and without a pattern.
THANKS, Seth for this glimpse into the world of quilts made from ties!!
Michael and I love to travel and see new parts of the world and then I love to take those memories and turn them into quilts!!! I hope that you enjoy traveling along with us!!
Be sure to subscribe to the blog so you don’t miss a single trip!!
On the weekend I posted about the quilting for the Monarch piece. You can check it out here…..
Now it was time to put the finishing touches so here we go……
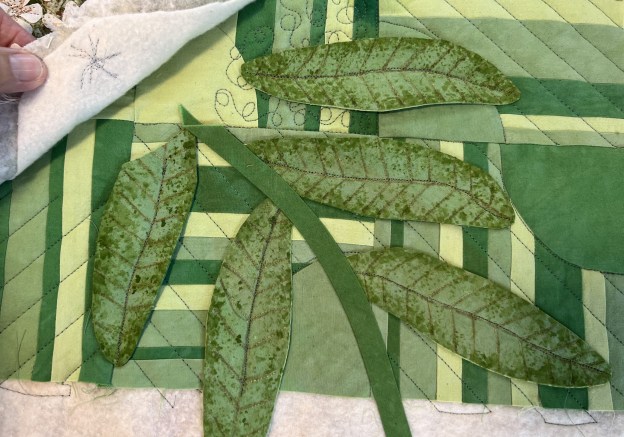
The first step was to add the leaves and stems to the piece.
I decided to use all 5 of the leaves that I had made but thought it would look good if one of them ran off of the quilt…..
I pinned them in place…..
….and sewed down the middle of the leaf so that each one floated over the surface of the quilt…..
Next, I added the stem and stitched it in place…..
I had to do a bit more quilting on the background of the milkweed……
At this point, the flower looked okay…..
…..but it needed more flowers to fill it in further. I had already made some double-sided flowers that I was adding at the end, but I realized that I needed MORE!!
But there was a problem….
This was all of the white fabric that I had left…..
….and remember that I can’t use any other fabrics
……and there wasn’t time to order more!!!
WHAT TO DO?
Come back tomorrow…….
……………………………………………………………………………..
Do you struggle to decide what to quilt in your blocks? If so, check out my FREE series…..