The question now is can I piece an ENTIRE circle???
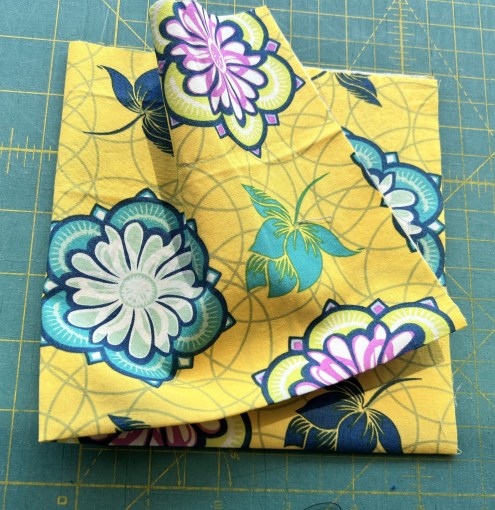
The first step was to cut two squares that were 12-1/2 inches and fold them into fourths…..
This time the ruler had to be lined up along the “folded edge” line for BOTH sides…..
I made the cut here and for the background fabric and ended up with these two pieces…..
I carefully matched the edges (more about that in a minute) and sewed around the entire circle and LOOK…..
A PERFECT circle pieced inside a square!!! I am SO excited!!
I cut out two more pieces and started again…….
By now, I was feeling more comfortable with the process and settled into a pattern for pinning and sewing.
I decided to match the arcs and glue at 8 points along the circle….
I also added a pin to each of these points but did NOT glue down the entire circle.
Once it was all glued and pinned…….
….I moved to the sewing machine and carefully sewed between each pin!! I found that it helped to use a stiletto to keep the fabrics lined up…..
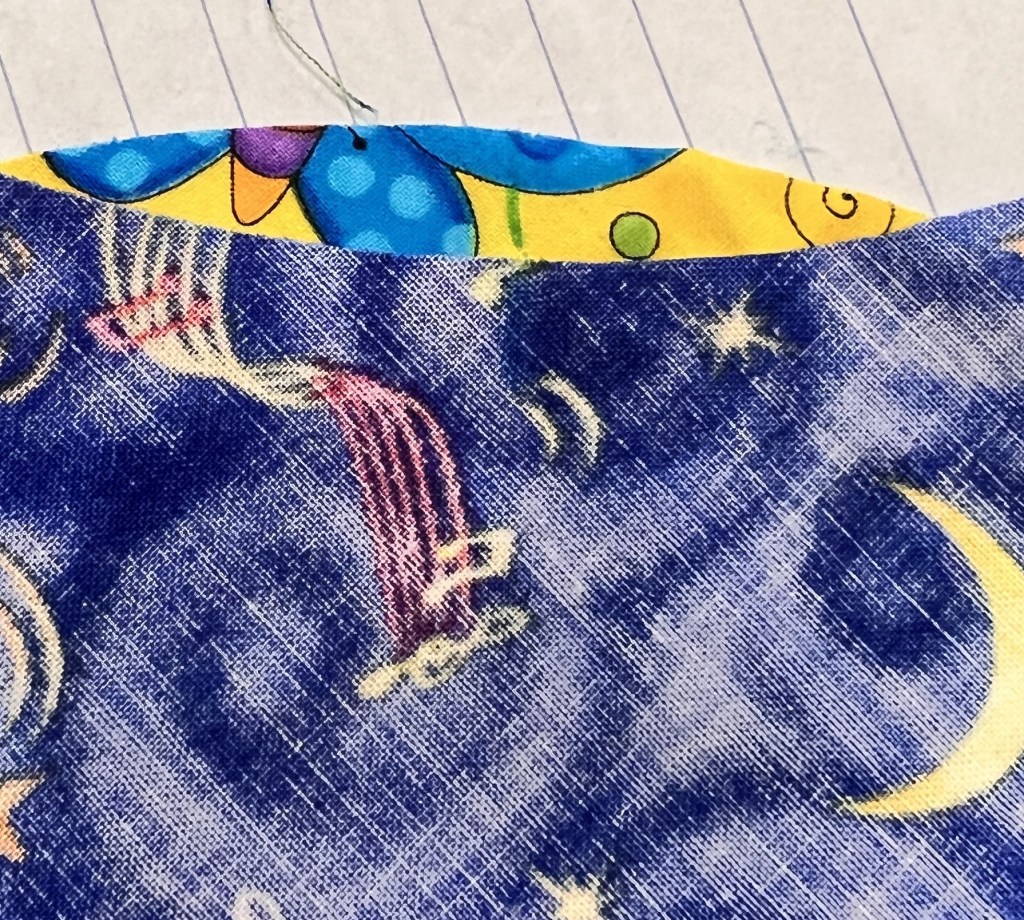
When I finished sewing it was a bit wrinkled…..
…but spritzing it with a bit of water before ironing made all the difference…..
It turned out beautifully…..
OKAY…..that was piecing a BIG circle……could I piece another circle INSIDE of this one??
I folded the fabric where I wanted the new circle to be……
….and made my cut…..
I just followed the procedure that I had set and had the circle inset in no time…..
AMAZING!!
Now that I had all of these blocks that were (magically) all the same sizes, I had fun playing to design a layout and borders for this great charity quilt…..
Now it is time to plan a serious quilt using circles!!!
After I accomplished the single arc, I moved on to double arcs……
….and then headed into half-circle territory!!
For these, I cut two pieces of fabric that were 6-1/2 by 12-1/2 inches…..
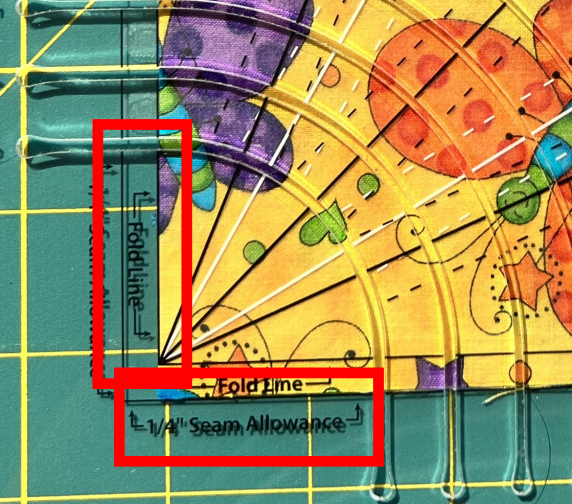
The first step was to fold the fabric in half, perpendicular to the long edge add place the ruler on top…..
This time I had to be very careful how the ruler was placed!! The one folded edge had to line up with the “folded edge” line and the raw edge lined up with the “1/4-inch seam” line…..
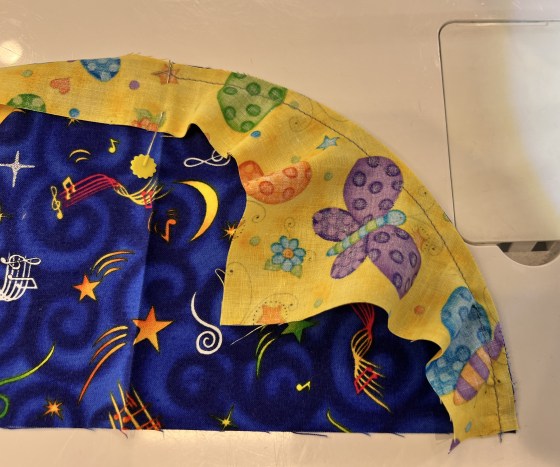
Once cut, it looked like this…..
….and opened up to this…..
I followed the same procedure with the background fabric, remembering to cut the arc 1/2-inch smaller than the inside arc!!
I glued and pinned the arc in place and then sewed, starting at the center and sewing to the end…..
I then returned to the center and did the same thing going the other way.
For some reason, this one didn’t turn out the proper size, but it was easy to cut it down to 6.5 x 12.5…..
I continued and made three more half-circle blocks and they all worked out fine so I am not sure exactly what I did wrong with this first one!!
At our guild retreat last week I had time to PLAY and I chose to play with piecing arcs and circles.
It was SOOO much fun!!
I have always been disappointed when I tried making arcs because the block never ended up being the correct size and I had to cut it down.
All it took was reading a few instructions to understand what I was doing wrong!!
I was surprised to find out that the two arcs (inside and outside) needed to be cut in two DIFFERENT sizes. I should have realized it but didn’t!!
The ruler that I am using is the “Circle Savvy Ruler” from Creative Grids…..
I started the process by cutting two 6.5-inch squares…..
I lined up the ruler with the “1/4-inch seam allowance” lines on the ruler……
I inserted the rotary cutter (28mmm) into the slot……
….and cut all the way across to the other slot…..
Ta-DA…….
Now it was time to move to the outside fabric!! Again, I lined the edges of the fabric with the “seam allowance” lines…..
….and cut from one side to the other.
BUT…..here is the kicker!!!!
This curve was cut 1/2-inch SMALLER than the first curve!!! That is what makes the block work!!
So both pieces were cut and ready to sew…..
The ruler instructions suggested using the cutting mat to find the middle of the curve. This was done by lining the perpendicular lines along the cutting board lines and marking along the 45-degree line…..
I did the same for the other piece…..
To prepare for sewing, I used a glue stick to baste the edges together, starting with the center point….
I then moved to the edge and glued it in place as well…..
I did add a pin for extra hold on the edges…..
Note that it is important to line up the side edges!!
I added dots of glue along the arc….
….and eased the two arc fabrics together….
At this stage, it was ready to sew……
I moved to the machine and carefully sewed around the arc, using my 1/4-inch seam allowance…..
And LOOK……
When I ironed the piece out, it was EXACTLY 6.5-inches….
I was a VERY excited curve piecer!!
The next block that I tried was a half-circle. Come back tomorrow for that!!