Lots of Handwork….

You should know by now that, if I am posting about a LOT of handwork, it is someone else’s quilt!!

I have mentioned before that my Mom LOVED doing things with her hands. She seldom sat at night without a needle in her hand……….and stuck in the padded armrest….but that is another story!!

One of her favorite crafts was embroidery and she KNEW how to do it.

I thought she was crazy when she started this quilt…..

There are 50 blocks with each state and its bird and flower……

Look at all of these French Knots…..

And of course, her beloved Texas…..

Now the AMAZING thing here is that not only did she make this quilt, but she also went on to make TWO more of them!!!

I love that I have this quilt and when I look at it, I can see her bent over her needle and smiling!!

Kantha Cloth Update

Several weeks back, I posted about my idea for a trip project and left with this piece to work on…..

As fate would have it, we ended up being super busy and I had VERY little time available to work on it, although I did manage to add a few stitches…..

I found it fun and relaxing to work on BUT I am not happy with the shredding that is occurring along the edges of the fabrics…..

I hadn’t wanted to fuse the fabrics down completely because I am afraid that it will make it too stiff and hard to get the needle through, but I think that will be the only way to stop the threads from pulling out.

Most likely I will not finish this piece but will certainly try again soon!!!

Have you ever done this technique? How did you solve this problem????

Handwork for the trip…..

As I have mentioned before, Michael and I are heading back to Mozambique on Thursday and will be in camp for 2 more weeks. We are getting excited about returning to the friends that we made back in May!!

On previous trips, I have always taken some sort of creative project with me, but as we went on more and more trips, I realized that I seldom had time to work on them. So, I didn’t take ANYTHING on the trip earlier this summer. But, the weather was not conducive to being out and about and I ended up desperately wanting something to work on!!

So, I am NOT leaving this time without something to keep my hands busy!!

The question was exactly what to take??? Lighting is not great so I knew that I couldn’t take any fine work like applique.

As I scratched my brain trying to come up with an idea, my mind kept coming back to Indian Kantha cloth, like the covering for this box…..

I also kept remembering the amazing wall art that I saw in the Mumbai airport….

Click HERE to read more about the Mumbai Airport “art gallery”!!!

After procrastinating as long as I could, I finally pulled some fabrics and threads……

Add started cutting squares, strips, and rectangles……

I finally moved the design to lightweight fusible interfacing and, when I was happy with the design, I ironed it all in place. I glued down any strips or pieces that weren’t being held in place with the fusing.

Then I started worrying about how the edges would handle all of the manipulation, so I sewed strips of fabric over the top to give it some stability…..

You can see the first little bit of stitching that I did to see how it was going to work….

When I put everything together I started to get excited about this project…..it might actually work!!!

The final step was to put together all of the supplies that I would need, including needles, threaders, scissors (ones that go on a plane), a seam ripper, marking pen and a few straight pins….

I also needed a straight edge to use for marking the sewing lines and my ruler wouldn’t fit in my pencil case holder so I decided to make one. I cut a rectangle of template plastic and marked 1/4 lines along it’s length….

The final addition to the project bag was my clip on light…..

Now my bag is packed…..I’m ready to go……

I probably wont even open it on the trip, but at least it is there and available!!!!

Fun times with handwork!!

Over the last few months I have posted about my enjoyment of doing various types of handwork….starting with beading and embroidery.  I have shown snippets of these, but as Quilt Show Chairman I made a badge for each of my 34 Chairmen and Co-Chairs.   I think that they turned out great…..

Picture1.png

….and were even nicer when Claire helped to put the ribbons on each of them…..

IMG_7584.jpg

They looked super when they were all finished…..

img_7586.jpg

….and the recipients (who did an AMAZING job) seemed to enjoy having them to wear during the show…..

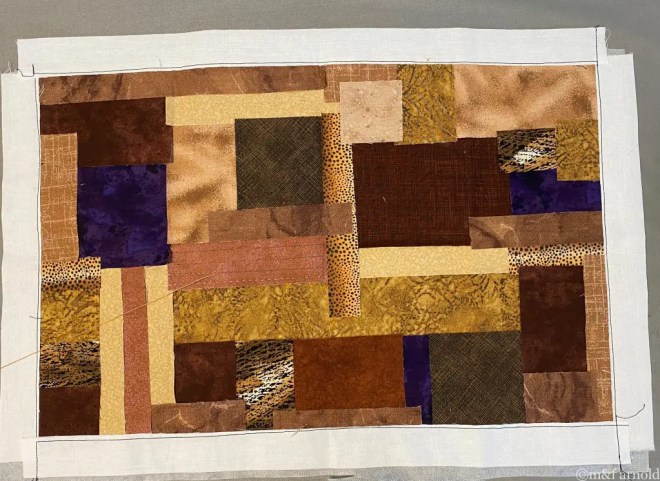
Over the last two (or maybe it is three) years, I have worked on a Needlepoint design from Kaffe Fasset.   It was fun to work on the funky flowers in amazing colors…..

img_7123.jpg

I gave it to my son, Brian and his wife Amber when they purchased their first house and it is now residing happily in Amber’s art studio!!

And now, I am moving on to  Hand Applique.

The few times that I have tried Hand Applique, I have really enjoyed the sewing process but was never happy with the way that I prepared the pieces beforehand.   I had tried Needle Turn but that did NOT work out well!   I tried gluing the edges down, ironing them down and folding them over a piece of Freezer Paper.   I even tried it wth TWO pieces of Freezer Paper ironed together to give it more body.   But nothing really worked!

When I was at the Quilt Show in Houston, I spent a few minutes listening to quilter, Karen Kay Buckley, talk about her method for preparing applique pieces.  She advocates using heat resistant Templar plastic to form the applique pieces.   Rather than using glue, she suggested brushing the edges using Magic Sizing…..

IMG_7659.jpg
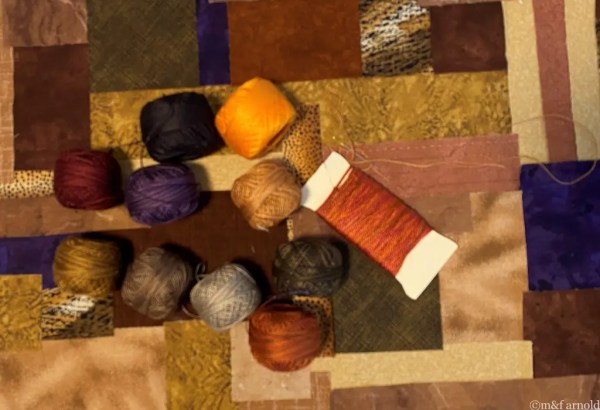
She even suggested spraying a small amount in the cap and using a brush to coat the edges….img_7661.jpg

…and then ironing the edges in place….IMG_7663.jpg

Karen says to use a dry iron but I found that it worked much faster if I used a minimal amount of steam.   This revelation came when I “thought” that I had turned the steam off but, in fact, had only turned it to the lowest setting.   So, lowest setting it is!!

The plastic is removed and the result is a piece all ready for sewing down…..img_7666.jpg

I thought long and hard about what I wanted to start with and my mind kept coming back to 70’s Mod Flowers.   The good thing about these flowers is that they are mostly gentle curves and I think that will be a good thing to start with.

I am also using Buckley’s circle templates to do the flower centers…..

img_7667.jpgThis technique involves sewing a running stitch around the fabric, brushing the edges with Magic Sizing…..

IMG_7670.jpg

And then pull to make a perfect circle…..

IMG_7672.jpg

I have absolutely NO idea what these will be used for, but I have started making blocks and am loving the process…..

img_7720.jpg

These two went together without any problem and I am now working on a larger block with two layers of petals.

I have also added a couple of things to my sewing corner…..ie my recliner with a table to hold my cup of tea…..IMG_7804.jpg

The biggest addition is the lamp that folds over my shoulder and does a fantastic job of illuminating my project without putting out so much light that it disturbs Michael as he sits next to me. This lamp is the Slimline LED floor Lamp made by Daylight Company.  I especially like it because it folds back on itself which means that it isn’t a super obvious intrusion into the room decor when I am not using it.

I first heard of the lamp from Bonnie Hunter in one of her blog posts.   She not only extols the benefits of the lamp but also gives some great tips for how to make assembly easier.   You can check it out here……   https://quiltville.blogspot.com/2016/10/find-simple-pleasures.html

Tbe next addition was a wicker basket to hold all of my “stuff”.  Previously I had just set it directly on the floor but felt like it made my area look cluttered.   I am MUCH happier with this solution.

The only problem now is that I can hand sew the flowers pretty quickly but am fairly slow at getting the pieces ready.  Hopefully I will get better at that soon!!   And one of these days, I MIGHT try making a leaf or a stem or something else flower related.   I will keep posting as I go.

Even more handwork…..

Since I have now decided that handwork can be fun, I realized that it was time for me to get my thread and bead supplies organized.  After looking at lots of options, I finally decided to use cardboard “Floss Bobbins” and spent MANY, MANY nights sitting in front of the TV and winding bobbins.

Then I had to find something to store them in!!   A friend had mentioned that Harbor Freight had tons of storage items so I went shopping and came home with the perfect solution……

IMG_5735

Isn’t all of that color scrumptious!!!

Next, I needed to figure out how to store my beads so that they were easily accessible.   Previously I had them stored in small plastic bags but it was way too hard to find what I wanted AND then I still had to pour them out into something to be able to use them.   SO, back to Harbor Freight I went and came home with boxes that each held 24 smaller snap-closure boxes…..IMG_6489

PERFECT!!!!!

Now, I am currently working on another “secret-ish” project and am having a great time working with my hands.   I based the idea on Cleo’s quilt project by fusing a 1.5 inch circle in the middle of a 4 inch square and then adding embellishments.    Here are a few of my favorites so far…..IMG_6491

IMG_6494

IMG_6492

I am SUPER happy with how they are looking and am truly enjoying using thread and needle again!! 

This has also been a good project while my shoulder is recuperating.   I have had very little pain and every PT session allows me to move my arm more freely, but there is still quite a way to go before I can return to all of my tasks…..especially machine quilting!!  So for now I am content with handwork and a little bit of strip piecing.

AND, I am already thinking about what I want to work on next!!