After the previous post’s
Remember that I had three different colorways and decided to work on one at a time.
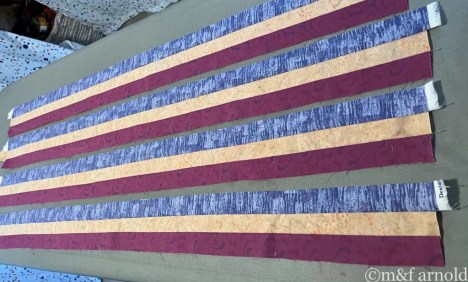
The first step was to sew the strips together, always placing the “periwinkle” and “rose” fabrics on the outside and the “clay” fabric in the middle.
I absolutely LOVE sewing long strips like this. My fingers just float over the fabric as it flies under the needle….
. …..and my mind has time to explore all sorts of things. Although let’s be honest, I am mostly thinking about my next quilt!!
The problem with adding a triangle to these strips is that there can be a lot of wasted fabric so I invented a way to solve that!!
I figured out how much fabric it took to cut two units and sub-cut my strip sets into those lengths….
I then sewed one triangle to each end of the strip, alternating sides….
I trimmed each triangle shape to include the strips…..
The end result was a small amount of wasted fabric…..
….and two sets of strip triangles….
Note that there are two distinct sets of triangles.
It was then easy to piece them all together, ending up with 6 whirlwind squares…..
Now to repeat the process for the next two color sets!!!
Keep watching for more…..