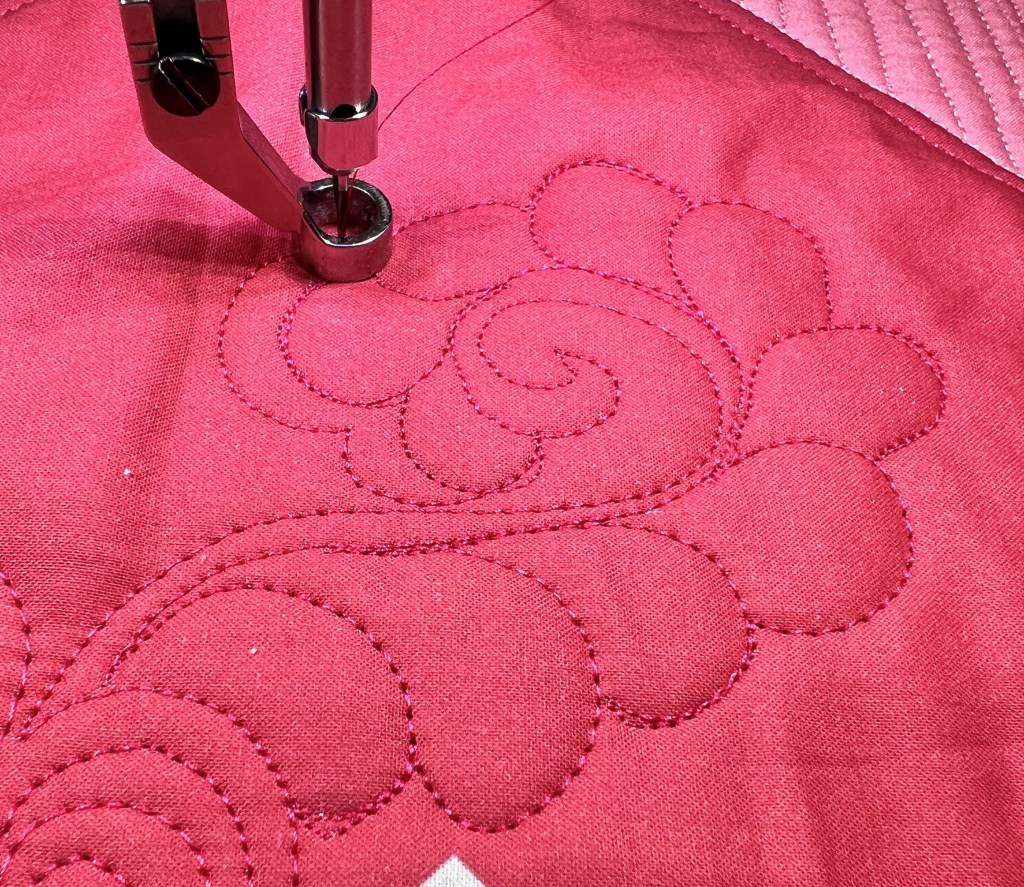
As I wrote on Tuesday, I have decided to pick up Angela Walters “Echoes and Curves FMQ Challenge” with the idea of finally getting comfortable with the Serpentine design!!
After I had quilted one section using the Serpentine design, it was time to turn the first corner….

MISSION ACCOMPLISHED!!!
The trick was to keep coming back to the inside corner until you are in position to re-start the Serpentine pattern.
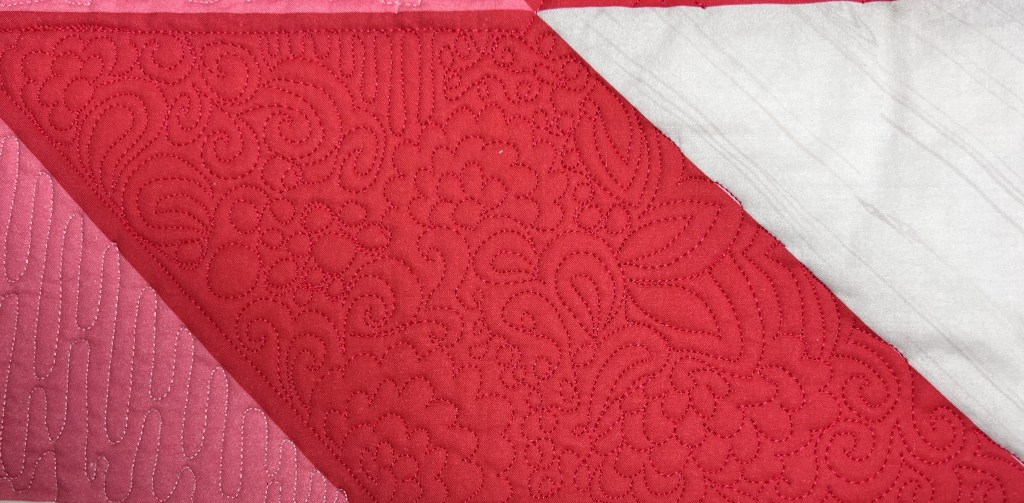
The next task was to quilt a lovely Plume Feather. I had tried them once before and wasn’t impressed, but this one went well!!

As I practiced, I found that I could quilt it from either direction!!
The design was perfected further in the larger center square….

Now WHY didn’t I like this challenge???
The next section was about echoes, whether they be Serpentine Curves or straight lines and Angela mostly left us to our own devices to come up with patterns to try…..
I chose Serpentines, Straight Lines, Feathers other curves……

It was so much fun to pick different ways to quilt areas of the quilt….


The quilt design itself is VERY asymmetrical so lends itself to lots of designs.
It was a FUN way to spend 2-hours in my studio on this cold, cold day!!

.
For Free-Motion Quilting ideas, be sure to check out my YouTube channel…… https://www.youtube.com/c/francesquilts/videos