I have recently become enamored with the Dresden Plate design and decided that it would be a perfect pattern for my guild challenge (due this Tuesday)!!
I had never made Dresden Plates before so decided to make a video to help myself learn as well as teach those who are interested.
They are amazingly easy to make so please enjoy……
If you are reading this via email, follow this link to see the YouTube Video.... https://youtu.be/E6sif4NZcU
After making a few larger Dresden Plate Designs, I pulled out some rulers that I had purchased when I was in Sweden……
The first was the MINI Dresden Plate from SuzN Quilts…..

…..and the second was the TINY Dresden…..

The MINI Version can be purchased HERE
The TINY Version can be purchased HERE
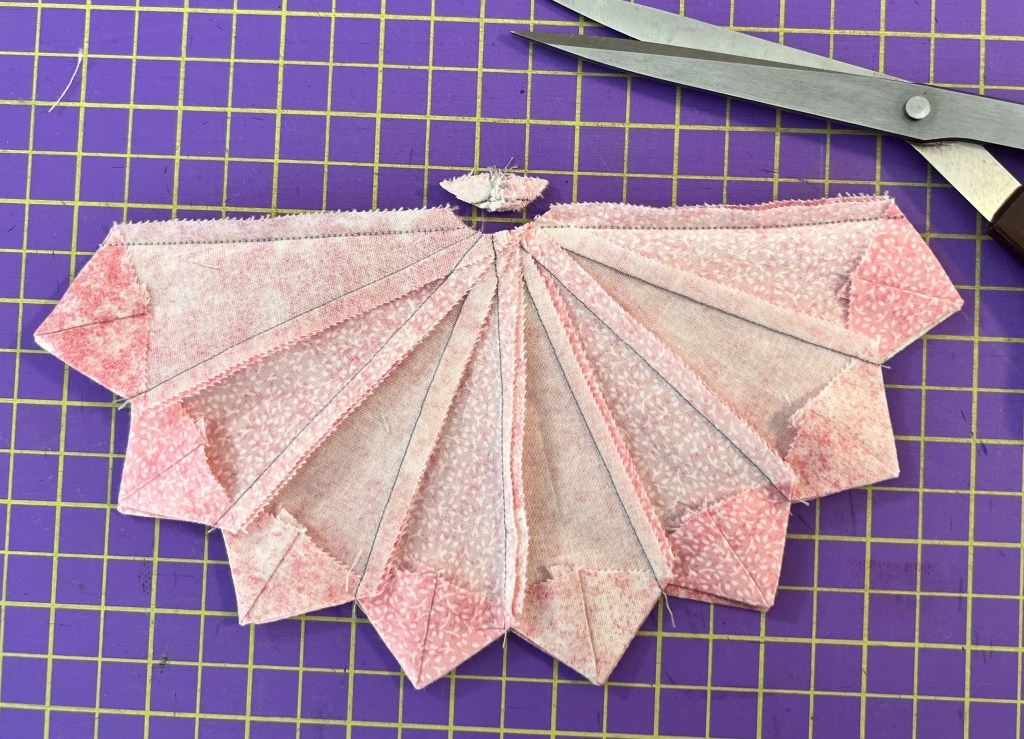
These templates are 30-degree angles, so it only takes 12 spokes to make a full plate.
For the Mini plates, I started with a 3-inch strip……

….while the TINY version started with a 2-inch strip…..

At this point, I was working with some fairly small pieces…..

The TINY template produced a 3-1/4 inch plate…..

But, then I got REALLY crazy and cut them even smaller, cutting the initial strip at 1.5-inches and only using a portion of the TINY template…..

At this stage, I found it too hard to hold the ruler in place, so I drew in the cutting lines and then cut them separately.
Interestingly, as I stitched it together, I only ended up needing 8 of the wedges to complete the plate…..

This one ended up being 1-3/4’s inch in size!!
So small but WAY TOO CUTE!!
Tomorrow I will show you some of the other alterations that I made as I proceeded to piece my Dresden-Plate flower garden!!
.
…………………………………………………………………………………………
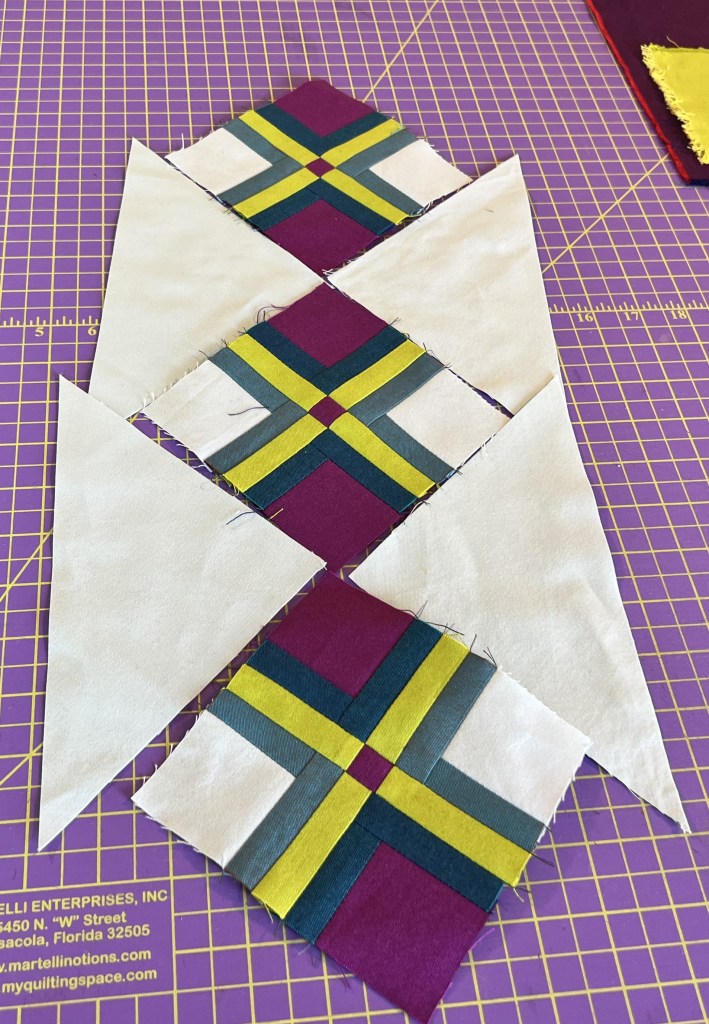
Subscribe to my mailing list and receive this free pattern for “Dancing Squares”…..

You can sign up HERE……
.
While you are at it, why not sign up to be notified of new blog posts as well…..
. . . . . . . . . . . . . . . . . . . . . . . . . . . . . . . . . . . . . . . . . . .
In this blog, I post stories about creativity, techniques, tools of the trade, and lots more about the wonderful art of quilting. If you are enjoying these posts, please subscribe to be notified of each new blog as it becomes available.