I’m not sure about you, but I can easily get distracted by Facebook and YouTube Reels. In particular, I enjoy watching people buy old furniture and transform it into something amazing, and people doing outstanding watercolor paintings. Lately, I’ve also been impressed by people using a Gelli plate to create prints on paper and fabric.
AND IT LOOKED SO EASY……
So, Friday afternoon I decided to give it a try.
I purchased a Gelli plate last summer but had never tried using it, so out to the garage I went with all of my supplies in tow….

I had no idea of what type of paint to use but decided to start with some paints that I had purchased in China….

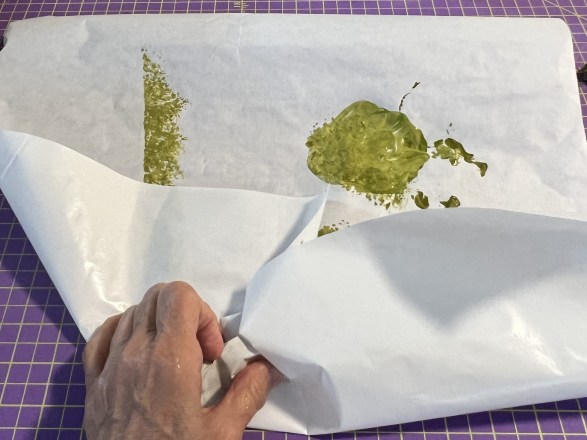
I did everything the way I had seen it on the Reels, and this is what I came away with….

I tried several more, but only got one decent print…..

Several more of them came out like this…..

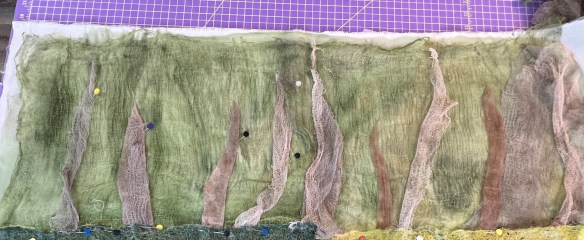
I decided that it was probably too hot so I tried again the next morning….
….and even more disaster!!!

It only got worse as the session went on…..

….and I finally gave up and called it a day!!!
I don’t know if it was the fabric that I was using, the paint that I was using, or that I didn’t understand the technique, but something was DEFINITELY wrong!!
I need to do some research and learn how to do it properly next time!!
But, it was still fun to grab some fabric and play just a little bit!!
Have you tried this technique? Did it work???
……………………………………………………………………………..
Do you struggle to decide what to quilt in your blocks? If so, check out my FREE series…..