Yesterday I showed the start of a Pooh baby quilt, leaving it at this stage…..
I had sewn sets of strips together and cut them into two patch blocks……
….and then sewed those into 4-patches that I placed around the blue border…..
I liked how it looked but felt that I needed to bring some more red into the design. I started trying an outside border…..
…..but decided that it would look better with an inside border.
My problem was that the side had to be divisible by 2 and since I hadn’t really planned my borders first, I ended up trimming off 1/8th inch pieces until I got it to the correct size.
I started adding the squares and loved how it was looking…..
I added the two side borders and…..
IT WAS FINISHED!!!!
It should be fun and easy to quilt and then it can be shipped off!!!
Come back on Friday for the quilting!!
Now a question for you….. what type of quilt do you make when you need a quick baby quilt???
…………………………………………………………………………………………………….
If you have an interest in ruler quilting, check out this online course…..
I have another baby quilt to make and this time the theme is “Winnie The Pooh”!!
I started out looking for fabric that I could use and do a simple pieced design, but apparently, Pooh is not in vogue right now, so I had to look for another idea.
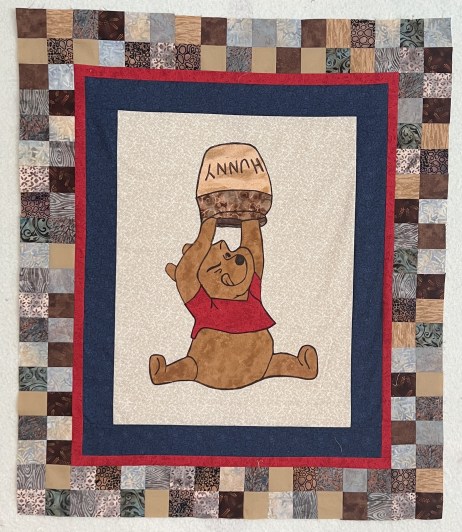
I found a photo of Pooh bear and decided to use that as my inspiration……
I started out with the applique and quickly decided that he needed a lot of outlining, so out came the Fabrico markers and Pooh was born……
Now I needed to add some borders to make him larger. I was happy with the first blue one…..
….and now wanted to add some nine patches around the edge.
I had a stack of fabrics that I thought might go with the design….
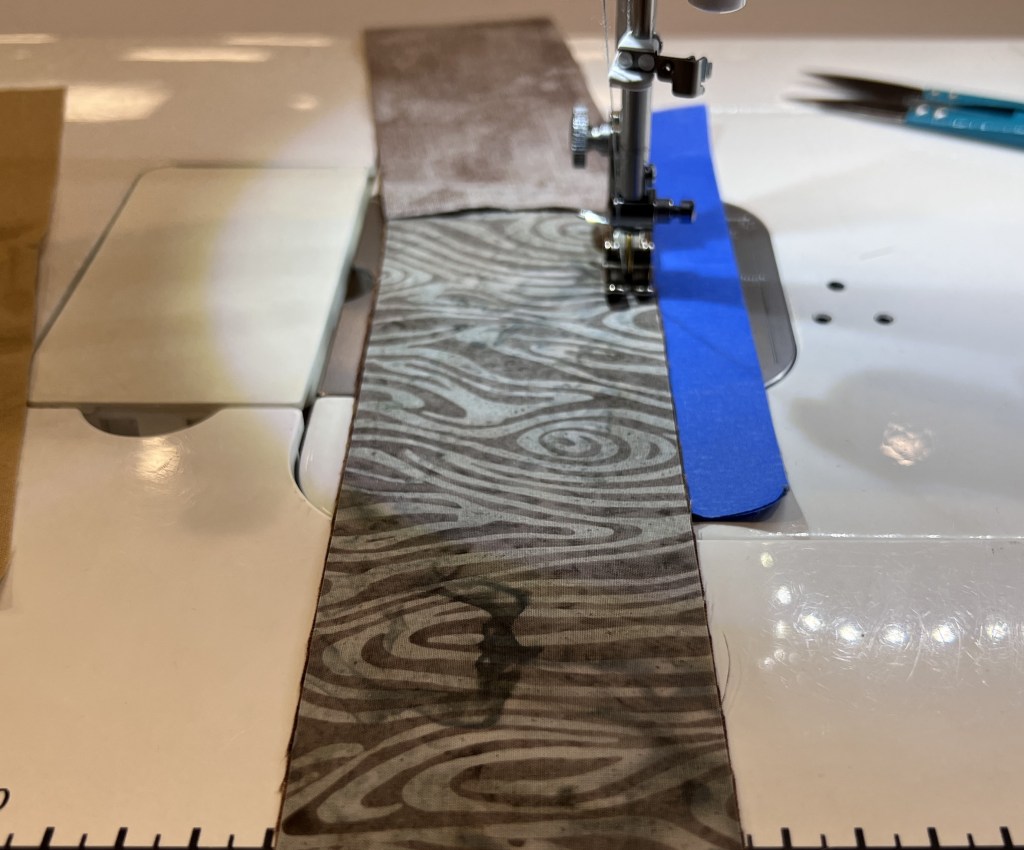
….and started out by cutting a 2.5-inch strip from each fabric.
I then cut that strip down into as many 8.5-inch units as I could get from one strip.
I randomly (well….mostly randomly) selected sets of strips and sewed them together.
About this time, I decided that 4-patches would be okay, which meant that I didn’t have as much cutting and sewing to do…..always a good thing!!!!
It was bedtime so I left it hanging on the design wall to conquer the next day.
Come back tomorrow and see the finished product….I am really happy with it!!!!
In this blog, I post stories about creativity, techniques, tools of the trade, and lots more about the wonderful art of quilting. If you are enjoying these posts, please subscribe to be notified of each new blog as it becomes available.
Yesterday I posted about designing the quilt top and back for my first grandchild’s baby quilt. Needless to say, I was smiling the whole time!!
The real fun came when it was time to quilt it!!
I started out with the lion’s face and mane…..
I was excited to see that the swirl designs were perfect for the mane and paisley designs worked for the lion’s body…..
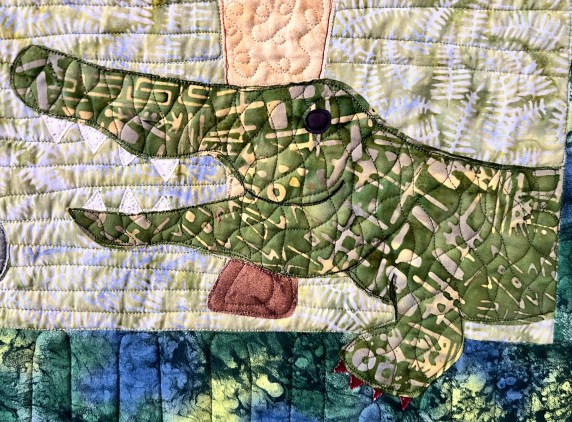
The crocodile needed some scales to go along with his red toenails…..
I had lots of fun adding a loopy meander to the giraffe…..
The elephant needed some echoes…..
…..and the sky was quilted with a basic meander…..
The final quilt looked great…..
….and the little monkey on the back was so cute…..
When Jenny opened the present, she saw this monkey first and said “It looks like Moochie” (Moochie was the stuffed monkey that she LIVED with for many years). It made my heart so full to hear that!!!
Early this year, our daughter Jenny and her husband Kevin announced that they were expecting their first child…..and OUR first grandchild!! Needless to say we were SO excited!!
And of course, my first thought was making a quilt.
When Jenny told me it was a boy and she was thinking about a jungle/safari theme, I knew EXACTLY what I wanted to make!!
You see, back in the early 1980’s we lived in Australia and there was a sweatshirt pattern in a magazine that I had clipped out to keep. Over the years I had purged many of these patterns but this one had stayed around……
I had actually made a version of it one time previously for Jenny’s best friend Emily…..
I was concerned about making the same quilt, but when I asked Jenny she assured me that she didn’t mind and would love it!!
So, I printed out a full-size pattern……
….and started adding body parts……
I quickly had all of the animals ready to fuse…..
….but couldn’t decide what background to use…..
NO…..NOPE!!HAS POSSIBILITIES!!
Once I made a decision, I fused most of the animals down, added the inside border, and then fused the rest down…..
And, the final dark blue border was the perfect finish…..
I also wanted to put something special on the back so found a cute monkey on a coloring sheet and let him “hang around” on the back…..
I will leave it here for now and tomorrow will talk about the quilting process.